
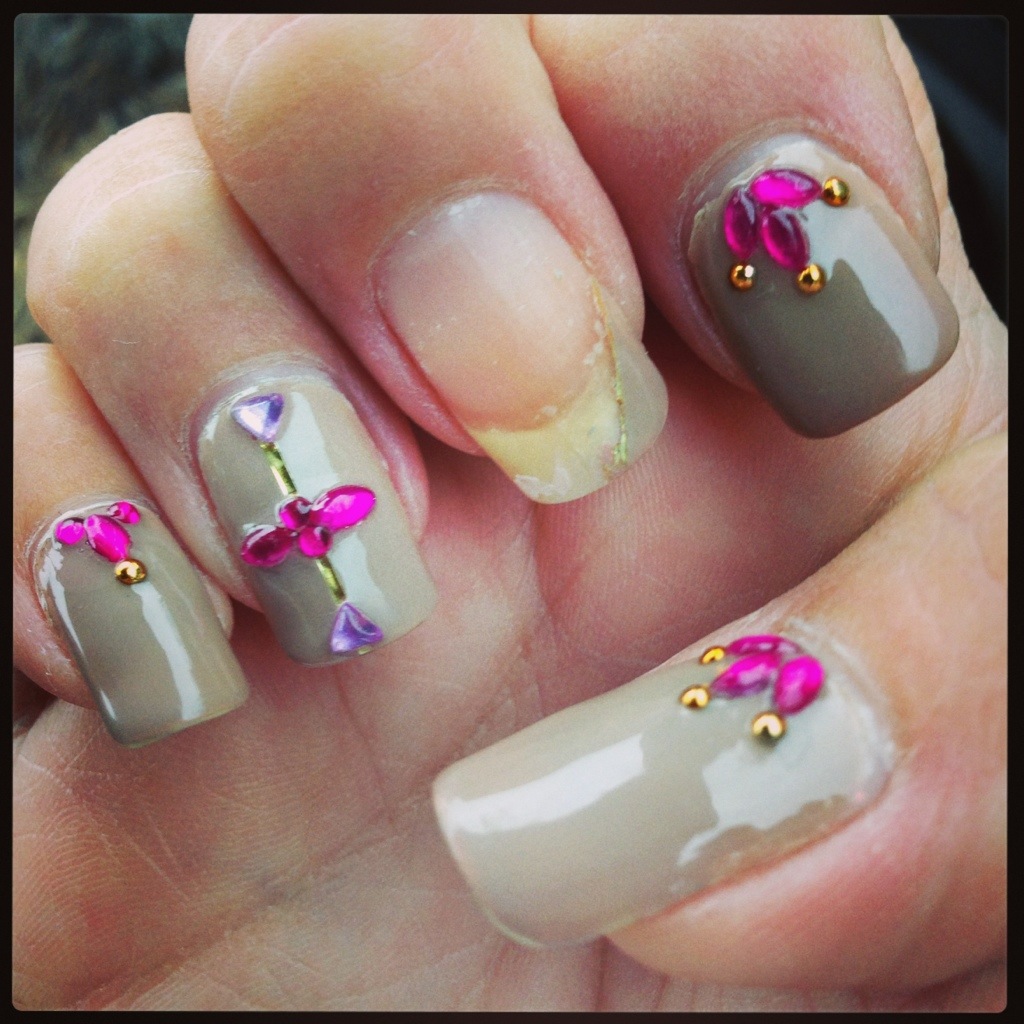
Hello ladies! Wow it’s been a while since I posted something, but this time it is a good one! One of my favorite nail artists is a young lady named Britney Tokyo, she is amazing and does some great Japanese nail art, if you haven’t found her yet definitely check her out and show her some love, she also participates in the Vanity Projects, lucky duck, she travels all over the US doing nails for those lucky enough to book an appointment! Well I have gone on long enough about my nail crush here are my nails inspired by Britney Tokyo:

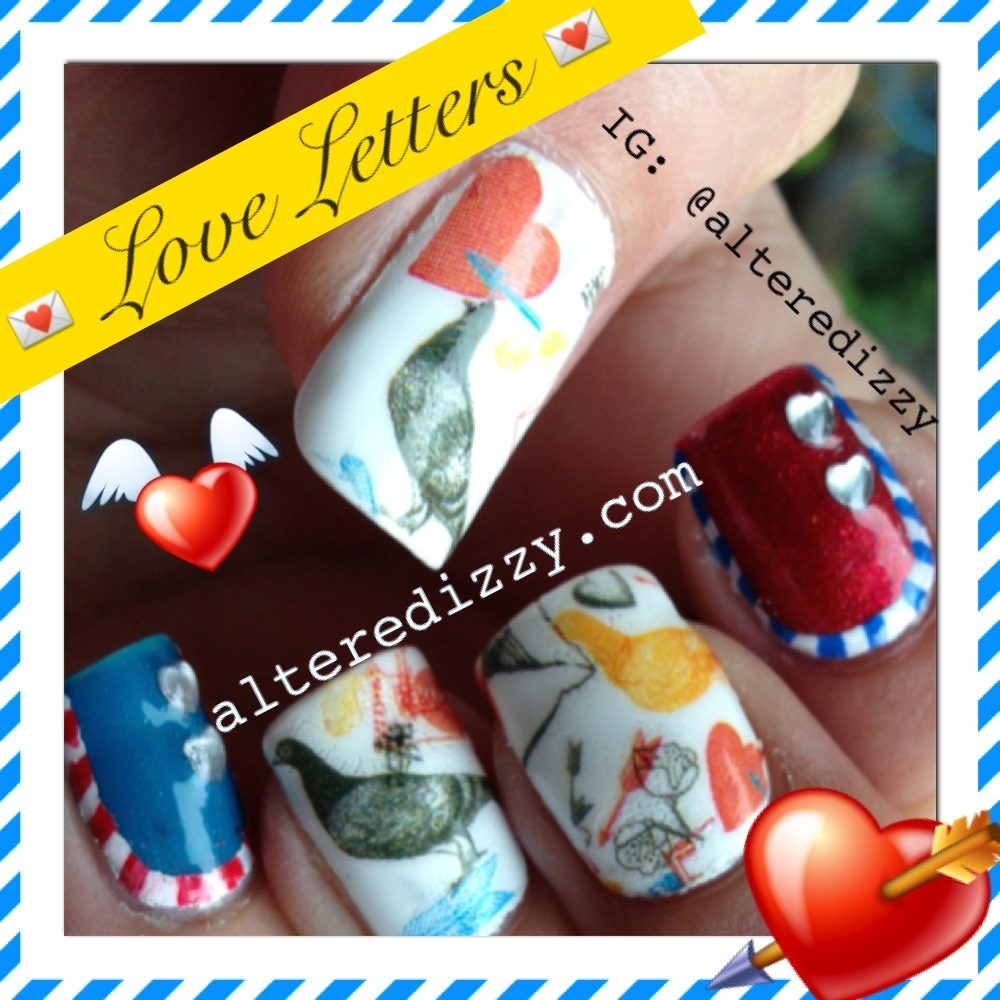
The oval “gems” with a silver frame were made by me! I used some oval jump rings for jewelry making and filled them with polish, easy peasey! Same goes for the black round “gems” on the thumbs. I have to say, they turned out really well, once they are dry all you have to do is apply them using clear polish followed by a good thick layer of top coat. The stamps all come from my jumbo cheeky plates.
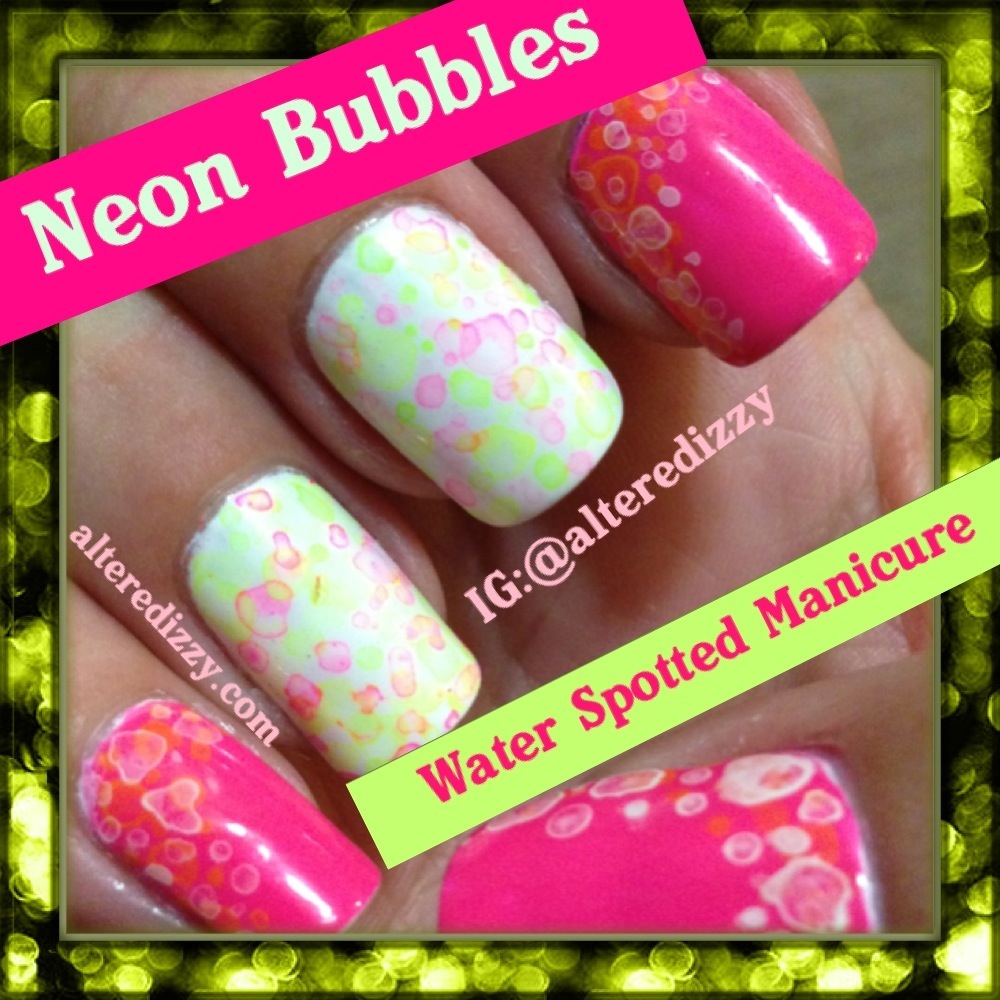
For this look I used:
Seche Vite Base Coat
O.P.I. Neon colors in ridiculously yellow, formidable orange, riotously pink, white base
Essence party princess
Seche Vite Top Coat
Cheeky beauty rhinestones
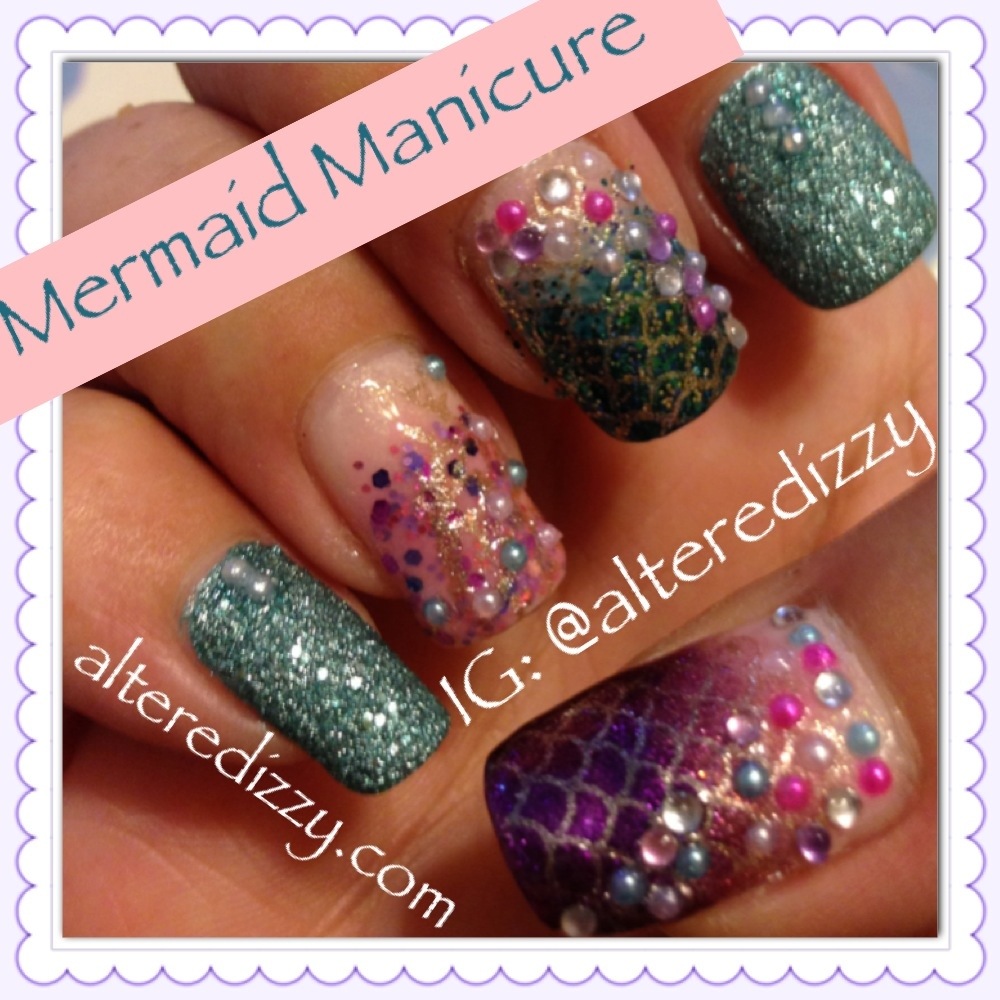
LA Splash loose glitter
Nail plates used:
Cheeky Beauty jumbo plates
Up next I have a YOLO Miami manicure to show you so stay tuned!


