Mouha-ha-ha!! Ha!ha! I’m sneaking in a Halloween post because I can! I know I promised to show you the rest of my hand painted nails but, I am totally digging Halloween nails right now and wanted to show you guys what I’ve been wearing for the last week or so.
I also wanted to point out that I had decided a few weeks ago to do a UV gel overlay on my nails seeing as how so many of them were cracked or broken and u did not want to gut them down. It has been a learning curve for sure but I think I’m staring to get the hang of these gel sculptured nails thingy! I have done them about three times now (once as a full set and two more times as a fill) and I have only applied a thin coat of gel over my natural nails, I have not used tips to lengthen my nails in any way. I also used the tea bag method to repair any broken or cracked nails. Works like a charm! The difficulty with the at home gel is building up the gel and getting it to stay where you need it to. I also have a small Seche Vite UV light and I don’t think the uv rays of the light actually reach parts of the nail leaving un-cured gel that gets wiped off when you clean up. Always make certain to get the whole surface of the nail is exposed to the light to avoid this problem.
Any how I also wanted to mention that my nail polish seems to last a great deal longer with the gel overlay! I just used a good thick coat of Seche Vite Top Coat on top to seal everything in. I have read that you can also add a layer of builder UV gel on top of your polish nice it is completely dry to really seal it in (I have not done this yet because I like to change my polish a few times a week!)
So here are my Halloween nails:
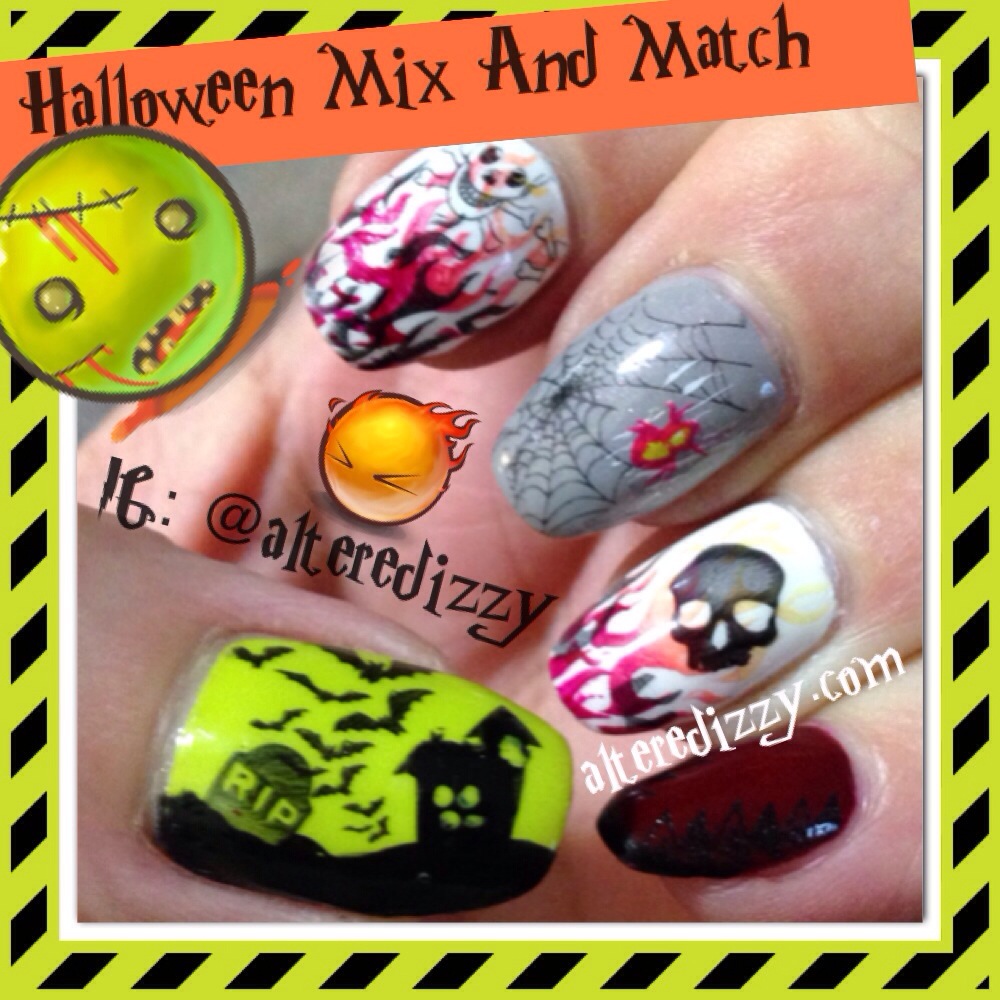
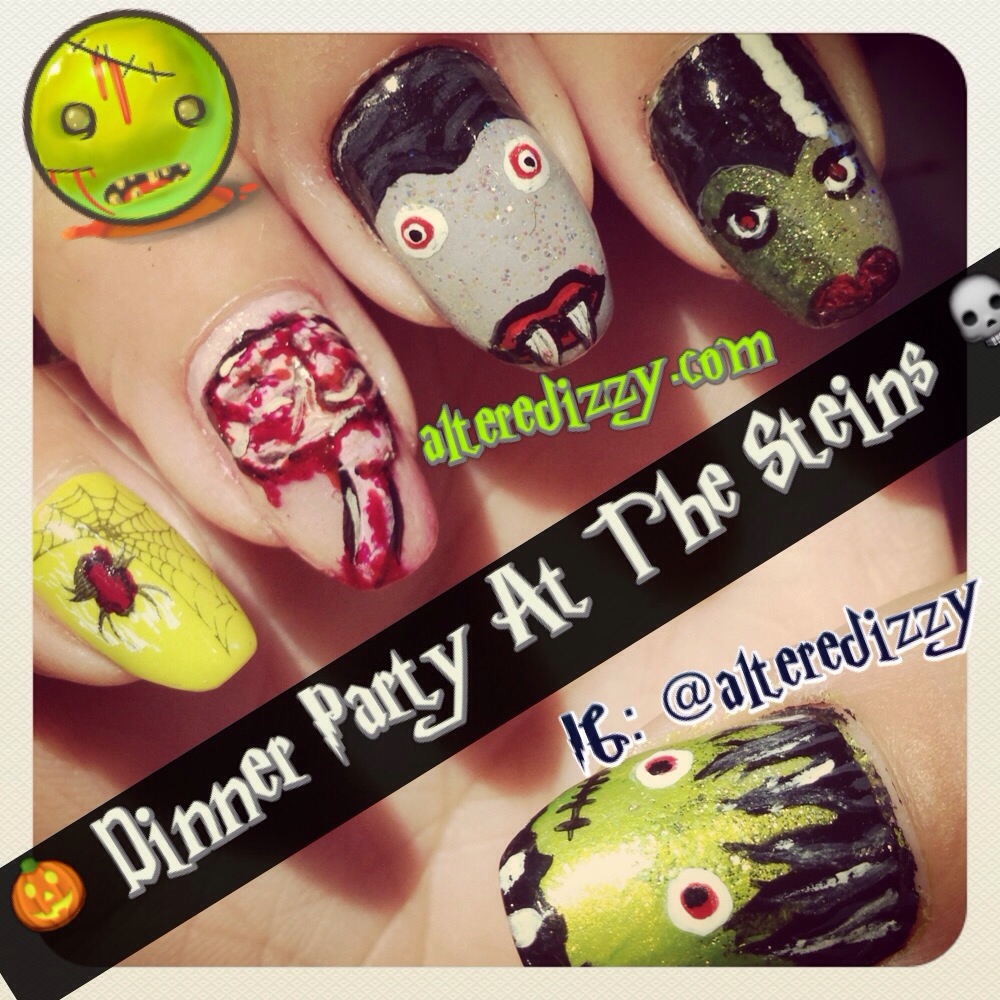
I used a bunch of stamping plates for the designs on my Cinderella hand and painted the other hand using acrylic paints. I had a really hard time with the brain and as a result it has a phallic look to it. Oh well I guess it will just have to do for the next few days, it is a long weekend this weekend here in Canada and I get to go to my turkey on at my best friend’s house woohoo!
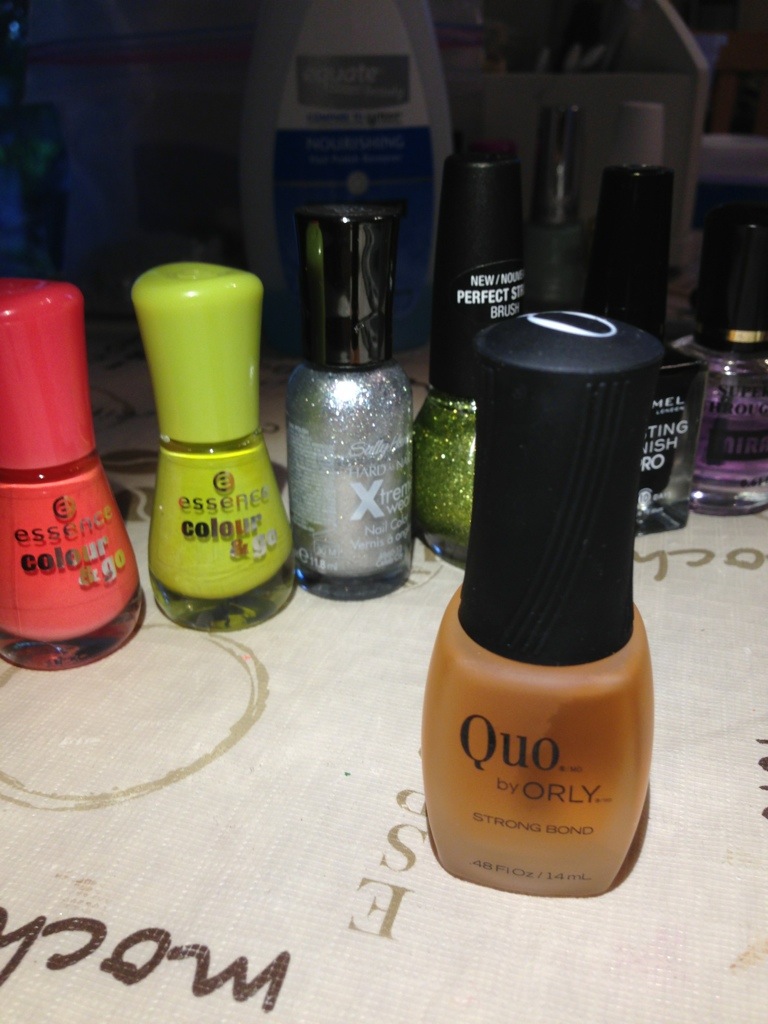
For this look I used:
Essence do you speak love?, grey-t to be here, L.O.L, iced strawberry cream
Revlon spirit
Maybelline Color Show lustrous lime
Sally Hansen Xtreme Wear disco ball
Karaja anti shock system N.10
Seche Vite Top Coat
I used acrylic paint for the Frankensteins, Count Dracula and the brain.
Stamping plates used for this look:
Mash 29, 48, 37
Shany SH217, 206
Bundle Monster BM13,
Winstonia W116
I would love to see your Halloween nail art, feel free to share them here!
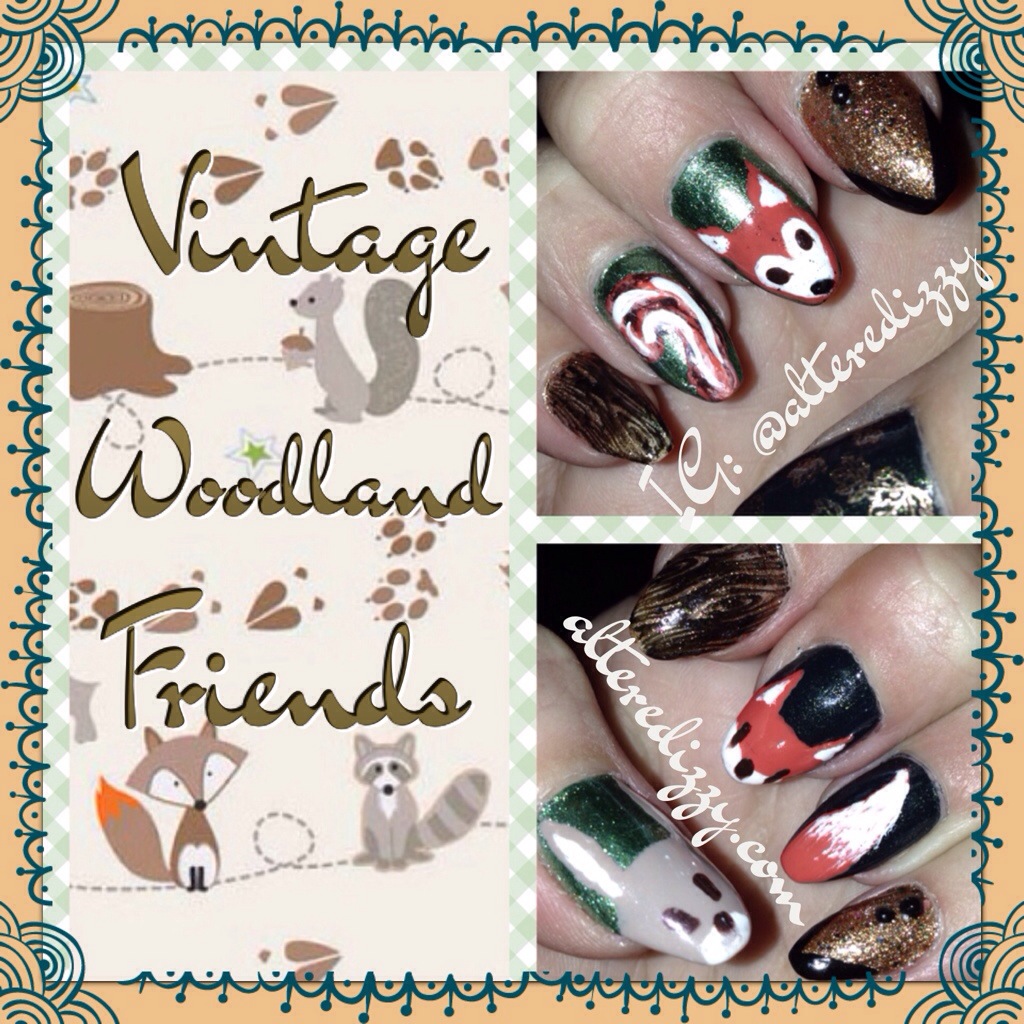
Next up I will be posting the rest of my hand painted designs! Stay tuned!


