Category: all

I’m back! Sorry for the disappearance!

Well I’m back! I didn’t go anywhere but I did start a new job that is all consuming and that has not left me a lot of time to blog. Nevertheless, we soldier on!
While I haven’t been writing the blog I have been keeping up with all the wonderful nail artists on Instagram. I also post on Instagram and you will note that I’ve put up some new nail art there.
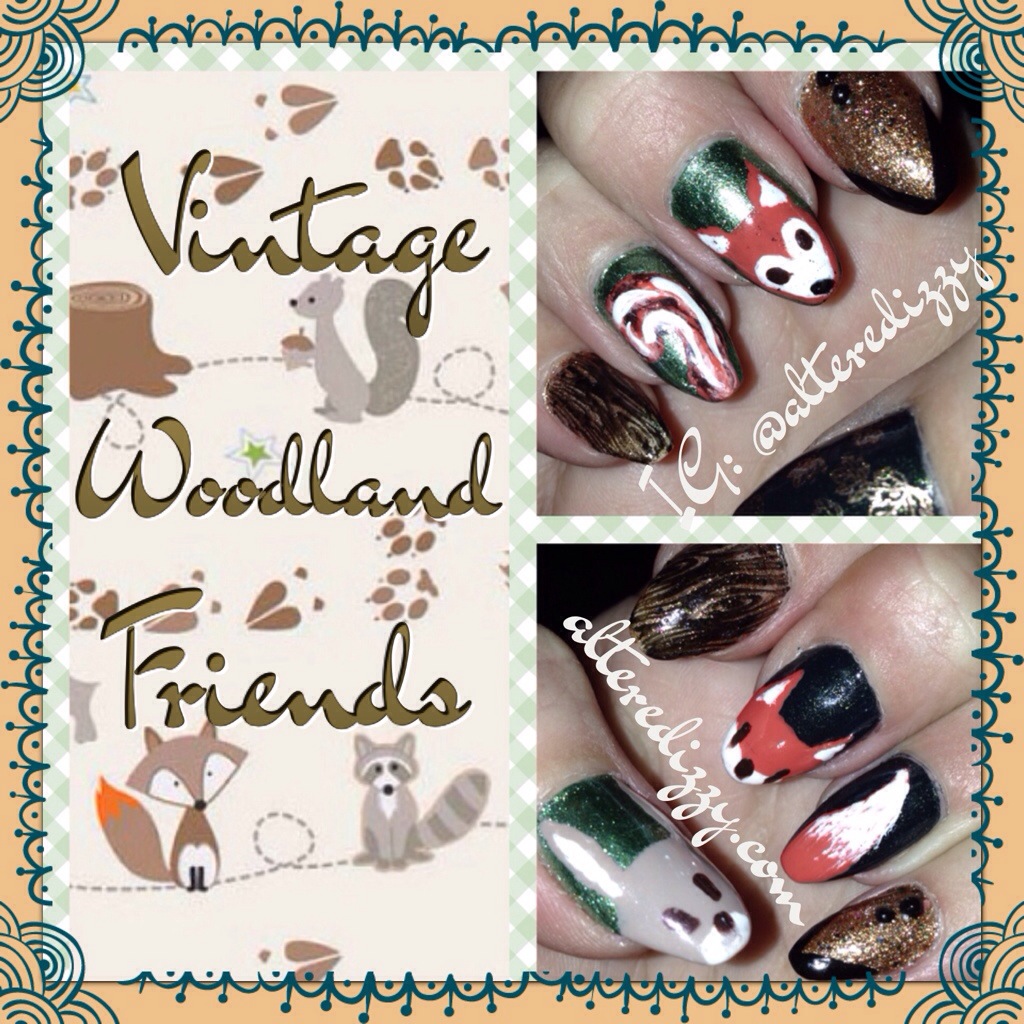
Today I will be showing you some woodland inspired nails. I love vintage anything, especially vintage printed fabrics. Toile being my all time favorite with children’s patterns coming in a close second. I love the friendly cartoon illustrations of the various animals.

20140426-095456.jpg
I love how the squirrel and the bunny came out. I also love the pairing of the wood grain with the animals. Next time I do these little guys, I want to stamp my background with the wood grain and paint my animals on top.

For this look I used:
Revlon copper penny
Rimmel rags to riches and black satin
Acrylic paint
Some rhinestones from cheeky beauty
Jumbo cheeky plate D

Hope you liked them! Next time I plan on showing you my line work! I’ve been practicing! Stay tuned and welcome back!

Halloween Mix Part 2

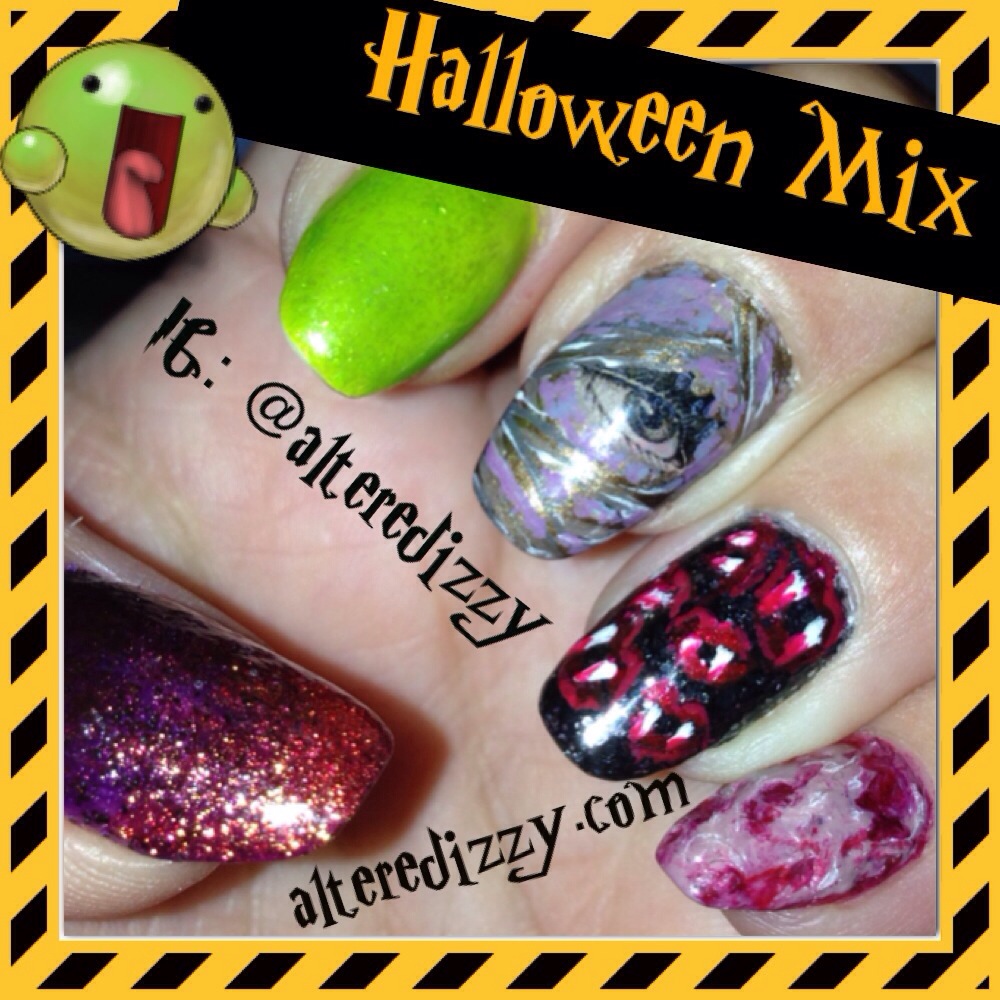
As promised I am showing you my second set of Halloween nails. I really wanted to try doing some torn skin nails like these ones and many others on the interwebs! The eye was supposed to look like a mummy’s eye surrounded by bandages, it was a bit muddled but still looked cool. The other nails were a fail, purple and orange textures glitter fade, slime green glitter sandwich, and the worst ever attempt at vampire lips print.

20131103-141329.jpg
Sometimes things don’t turn out as well as you think, oh well the next ones will be better!
For this look I used:
O.P.I. James Bond collection Honey Rider, Jinx

Hand Painted Mix Part 2

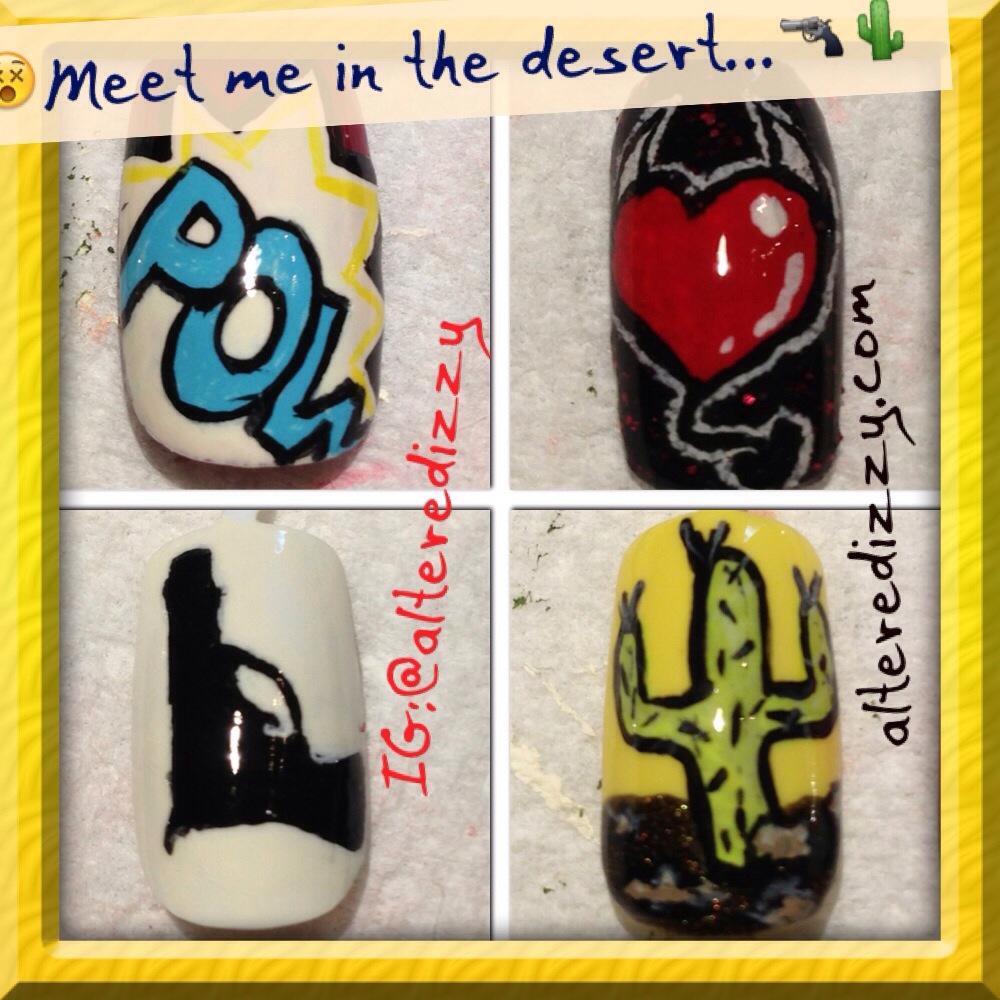
Hello again! I know I played a sneaky Halloween blog post swap out last time but today I will really be showing you the rest of my hand painted mix. As usual I used polish for a base and then used acrylic paint to do the designs, everything then gets the Seche Vite Top Coat treatment once it is done.

20131025-155447.jpg
I really like the way these turned out. I t took quite a while for me to complete these and I wanted to practice so I painted them on some false nails. Sometimes you just want your art to last!
Next up is my second set of Halloween nails so stay tuned!

Sneaky Halloween Post!

Mouha-ha-ha!! Ha!ha! I’m sneaking in a Halloween post because I can! I know I promised to show you the rest of my hand painted nails but, I am totally digging Halloween nails right now and wanted to show you guys what I’ve been wearing for the last week or so.
I also wanted to point out that I had decided a few weeks ago to do a UV gel overlay on my nails seeing as how so many of them were cracked or broken and u did not want to gut them down. It has been a learning curve for sure but I think I’m staring to get the hang of these gel sculptured nails thingy! I have done them about three times now (once as a full set and two more times as a fill) and I have only applied a thin coat of gel over my natural nails, I have not used tips to lengthen my nails in any way. I also used the tea bag method to repair any broken or cracked nails. Works like a charm! The difficulty with the at home gel is building up the gel and getting it to stay where you need it to. I also have a small Seche Vite UV light and I don’t think the uv rays of the light actually reach parts of the nail leaving un-cured gel that gets wiped off when you clean up. Always make certain to get the whole surface of the nail is exposed to the light to avoid this problem.
Any how I also wanted to mention that my nail polish seems to last a great deal longer with the gel overlay! I just used a good thick coat of Seche Vite Top Coat on top to seal everything in. I have read that you can also add a layer of builder UV gel on top of your polish nice it is completely dry to really seal it in (I have not done this yet because I like to change my polish a few times a week!)
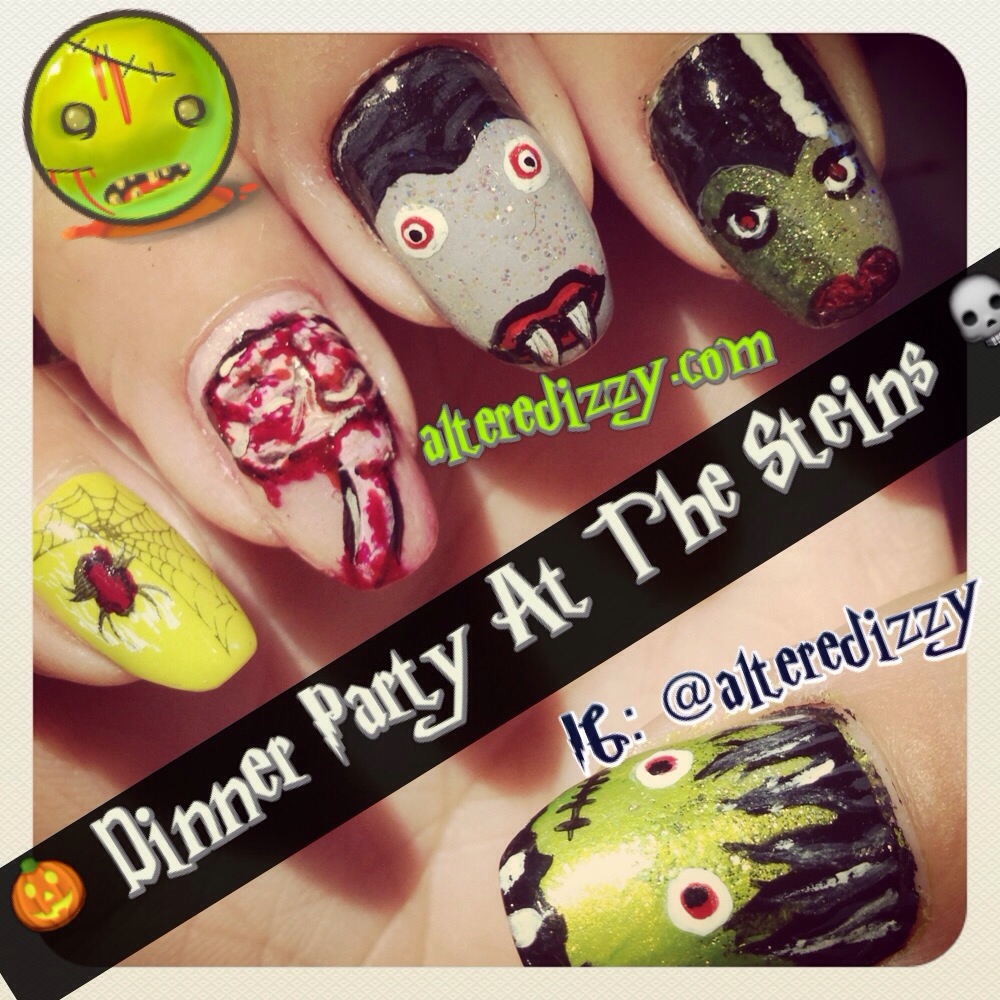
So here are my Halloween nails:
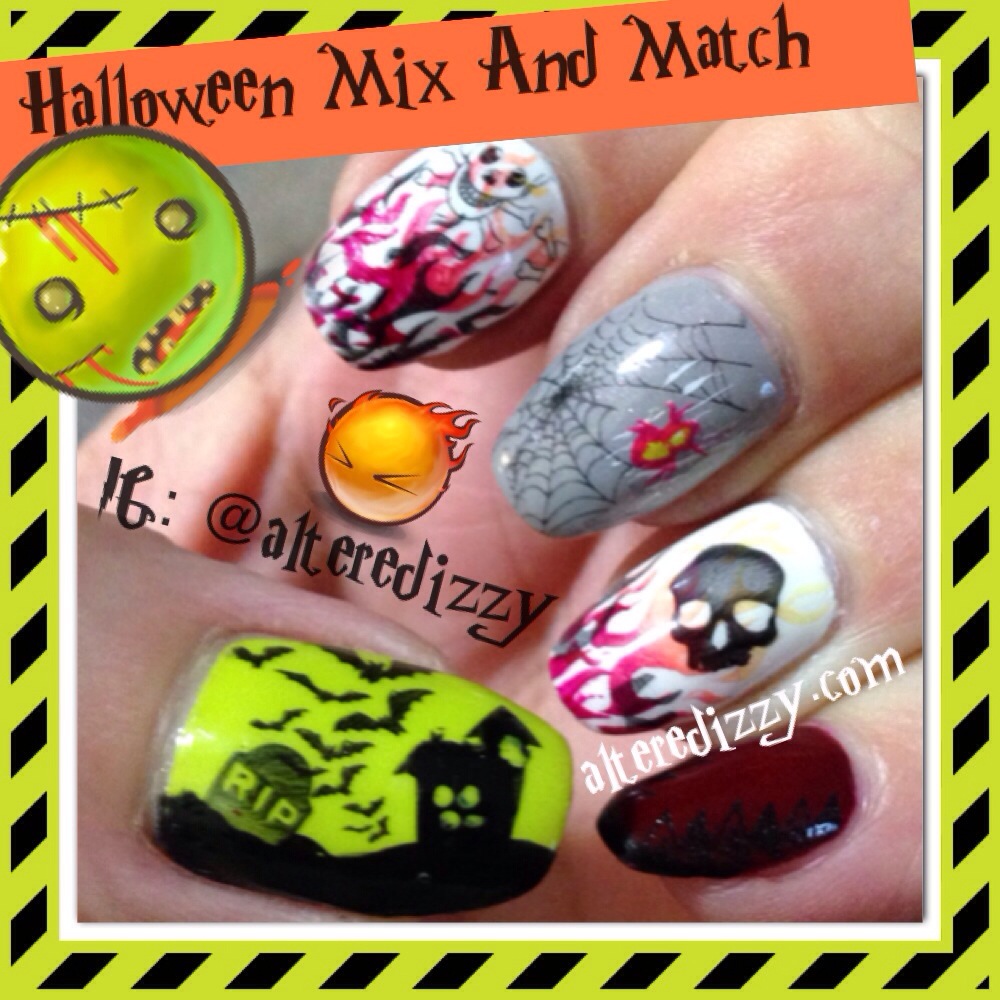
20131012-114729.jpg

20131012-114743.jpg
I used a bunch of stamping plates for the designs on my Cinderella hand and painted the other hand using acrylic paints. I had a really hard time with the brain and as a result it has a phallic look to it. Oh well I guess it will just have to do for the next few days, it is a long weekend this weekend here in Canada and I get to go to my turkey on at my best friend’s house woohoo!

For this look I used:
Essence do you speak love?, grey-t to be here, L.O.L, iced strawberry cream
Revlon spirit
Maybelline Color Show lustrous lime
Sally Hansen Xtreme Wear disco ball
Karaja anti shock system N.10
Seche Vite Top Coat
I used acrylic paint for the Frankensteins, Count Dracula and the brain.

Stamping plates used for this look:
Mash 29, 48, 37
Shany SH217, 206
Bundle Monster BM13,
Winstonia W116

I would love to see your Halloween nail art, feel free to share them here!

Next up I will be posting the rest of my hand painted designs! Stay tuned!
Hand painted nails

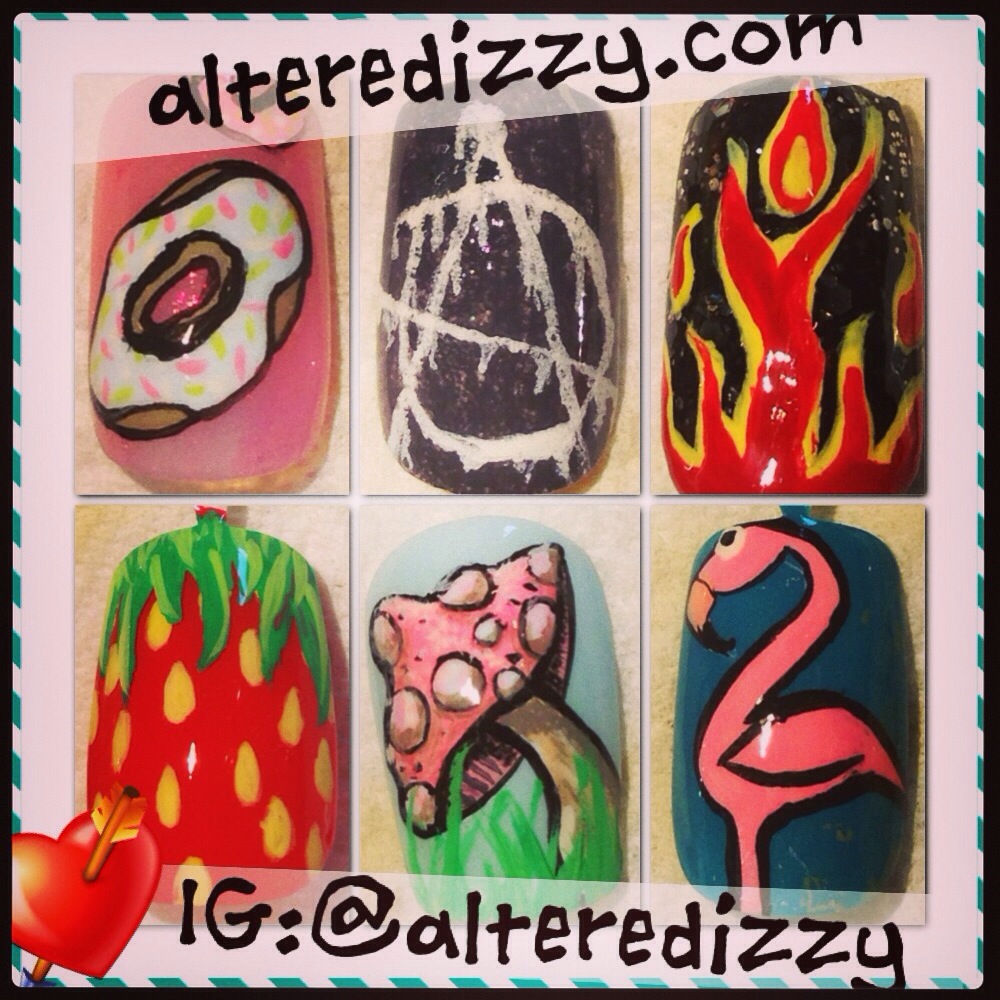
Wow! I totally did not realize how long it had been since I posted something to the blog. It has been a busy month but I have some pretty cool nails for you today: hand painted mix and match nails! I love Robin Moses and, as most of you know, she is the best nail artist when it comes to hand painted highly detailed nail art. I decided to come up with some cool designs that are on trend. So here they are:

20130930-183421.jpg
I’m pretty proud of these, the anarchy symbol actually looks like it was painted on a textures wall and the detail in the mushroom is amazing! I used acrylic paints to do each design over a polish base, the design was then sealed using Seche Vite Top Coat but I would probably seal everything using some uv builder gel if I were to paint these onto a client’s nails.
What do you guys think? Have you used acrylic paint to do your nails? I would love to see what you came up with!
Next up you get to see the rest of these bad boys!

Reverse Stamping Sari Print Manicure

Hello readers!! Today I have a super duper exciting manicure and new technique to show you! I’m calling it Reverse Stamping and I discovered it on the amazing Art of Nail blog! This woman is a genius! You start off your stamping process as usual: put the polish on the plate, scrape off the excess, use your stamper to pick up the design. Here comes the genius part: take coloured polish and paint directly onto the loaded stamper!!!!! What????? Madness?!?!? Wait for it! We are not done ladies and er, gents! Once the polish dries on the stamper: YOU STAMP YOUR NAIL!!!! This is stamping in colour people! We have gone from the dot matrix printer to a full on colour laser printer! Ok, I’m really excited about this and, I’m sure plenty of others have already figured this out but I had not.
So, here it is my Reverse Stamping Sari Print manicure:

20130708-120500.jpg
I love love love the way this turned out and I ended up wearing it for almost a whole week. In fact, I’m still wearing it as I type up this post. The key to success with this technique is using as little polish as humanly possible while still applying enough colour to the stamper using only one stroke. The more polish you leave on the stamper the blurrier your outline becomes.
Have any of you tried this technique? If so let me know how it turned out! Don’t forget to check out the gifted artist who inspired this manicure and get the tutorial on her blog “>Art of Nail
Not sure what to do next but I’m pretty sure it will involve some colour printing

Magical Unicorns

As promised in my last post here come the unicorns! I’m not usually a unicorn type of girl but lately I’ve been digging pastels and for some reason it also makes me think of a unicorn colour pallet. I started with some pastel base colours and a metallic accent, on the pastel blue index fingers I finally got around to using an O.P.I. glitter from the Wizard of Oz collection. I then stamped on some designs from my Winstonia and Pueen nail plate sets. I wanted the thumb and pinkie to look like my unicorn was running then leaping into the air, so I changed the orientation of my stamp before applying it to the nail. Added some bling and a top coat and Bam! Chapter!

20130704-112420.jpg
I love the way this turned out, this may be a little too girly for some but I really liked wearing it out and I received a few compliments on them. Whoot! Whoot!

For this look I used:
Seche Vite Base Coat
Revlon cloud, sunshine sparkle, vixen
Sally Hansen Xtreme Wear bubble gum pink, celeb city
Hard Candy crush on raisin
O.P.I. Lights of Emerald City
O.P.I. Rapid Dry Top Coat

Nail plates used:
Winstonia W111, W117
Pueen 46

Stay tuned, I will be trying out a new stamping technique for my next manicure it should be interesting…

30 Day Nail Challenge Day 30: Inspired By A Tutorial

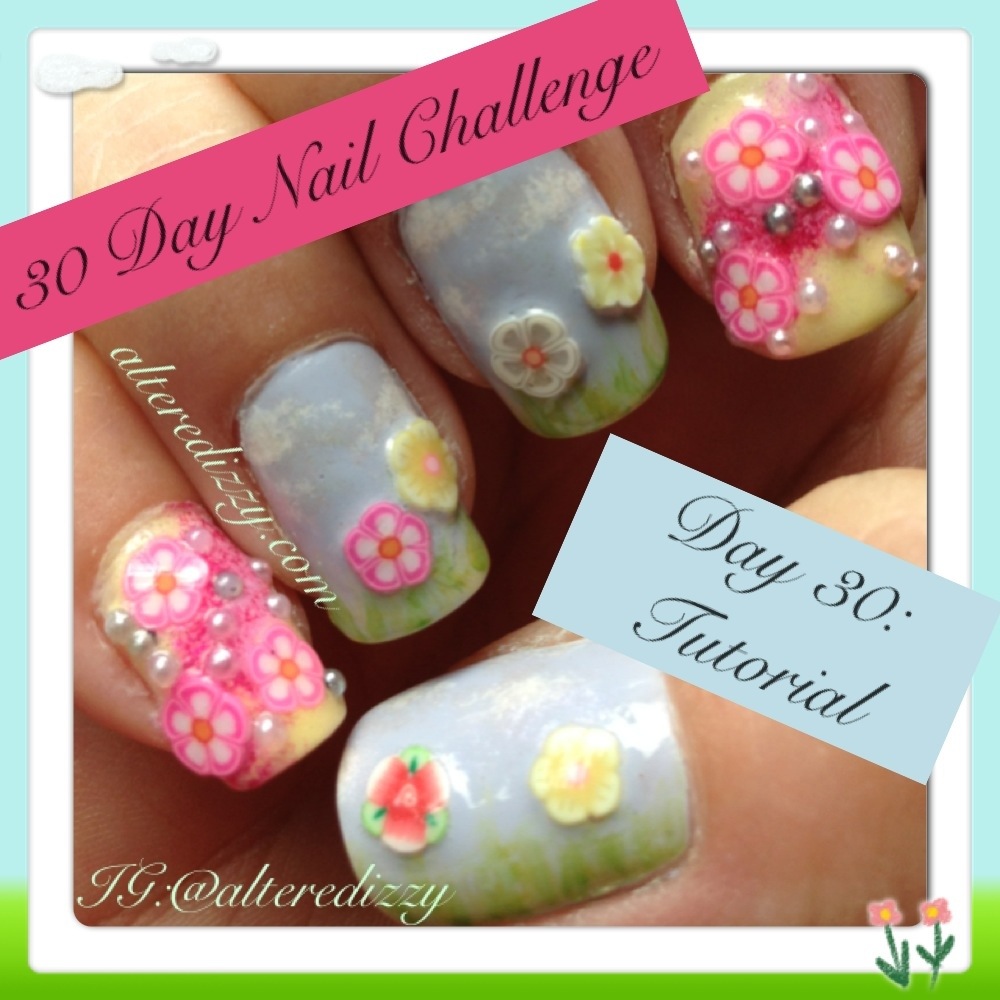
Last day if the 30 Day Nail Challenge! This last manicure is inspired by a tutorial I watched on YouTube explaining the use of those cute little Fimo/polymer clay nail art canes. I recently snagged a ton of nail art supplies from Amazon and received three wheels of precut polymer clay rod pieces, well I figured you just glue them on and Bob is your uncle but I still wanted the experts to chime in. Turns out you basically glue them on, top coat the shizzle out of them then Bob is your uncle. So I totally tackyfied my nails for this last manicure, I have no idea how these things will come off but I’m sure I can find a tutorial for that too!

20130609-122411.jpg
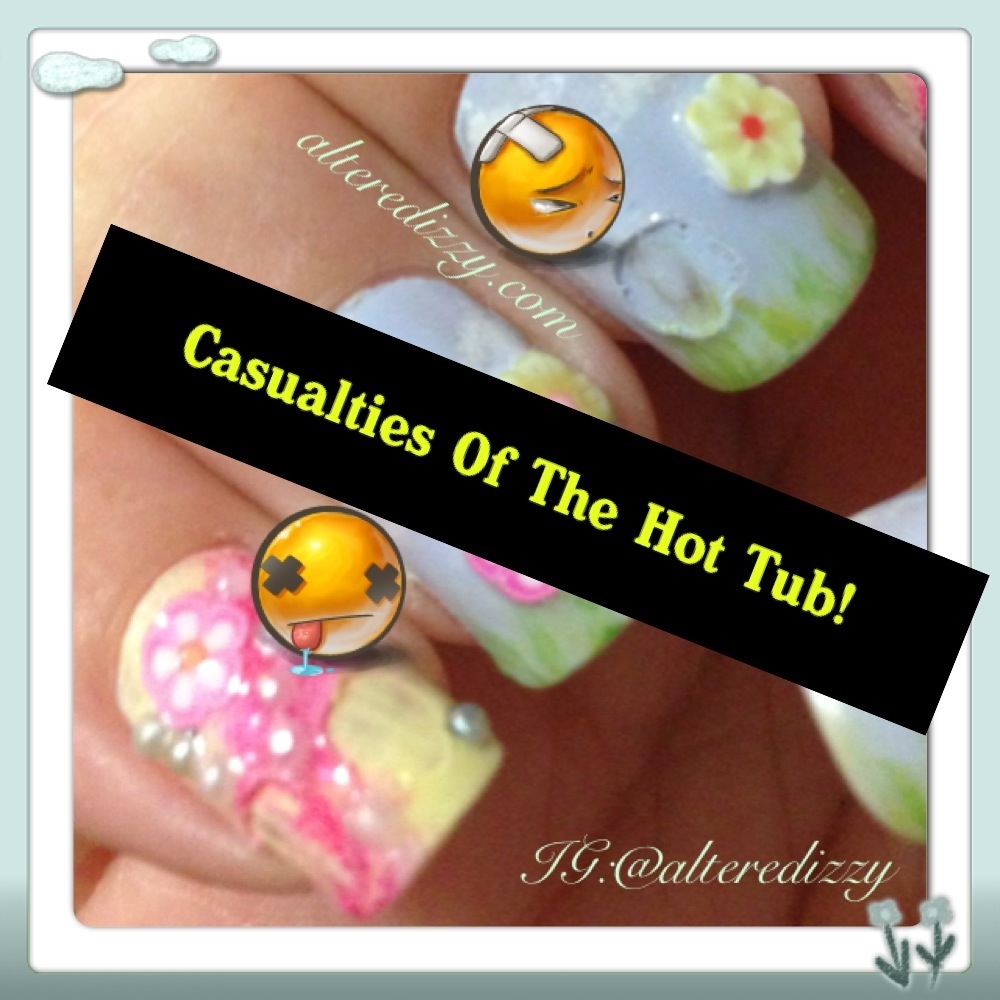
Sorry for the crappy cleanup! Thankfully I had the presence of mind to photograph my nails before spending the evening in a hot tub because this happened:
20130609-123638.jpg
I guess that answers the removal question! Oddly enough my Cinderella hand is still looking good.

For this look I used:
Seche Vite Base Coat
Revlon cloud, optimistic, sunshine sparkle
Rimmel ethereal
Maybelline Color Show lustrous lime
Hard Candy little hottie

The flowers are from Cheeky Beauty .

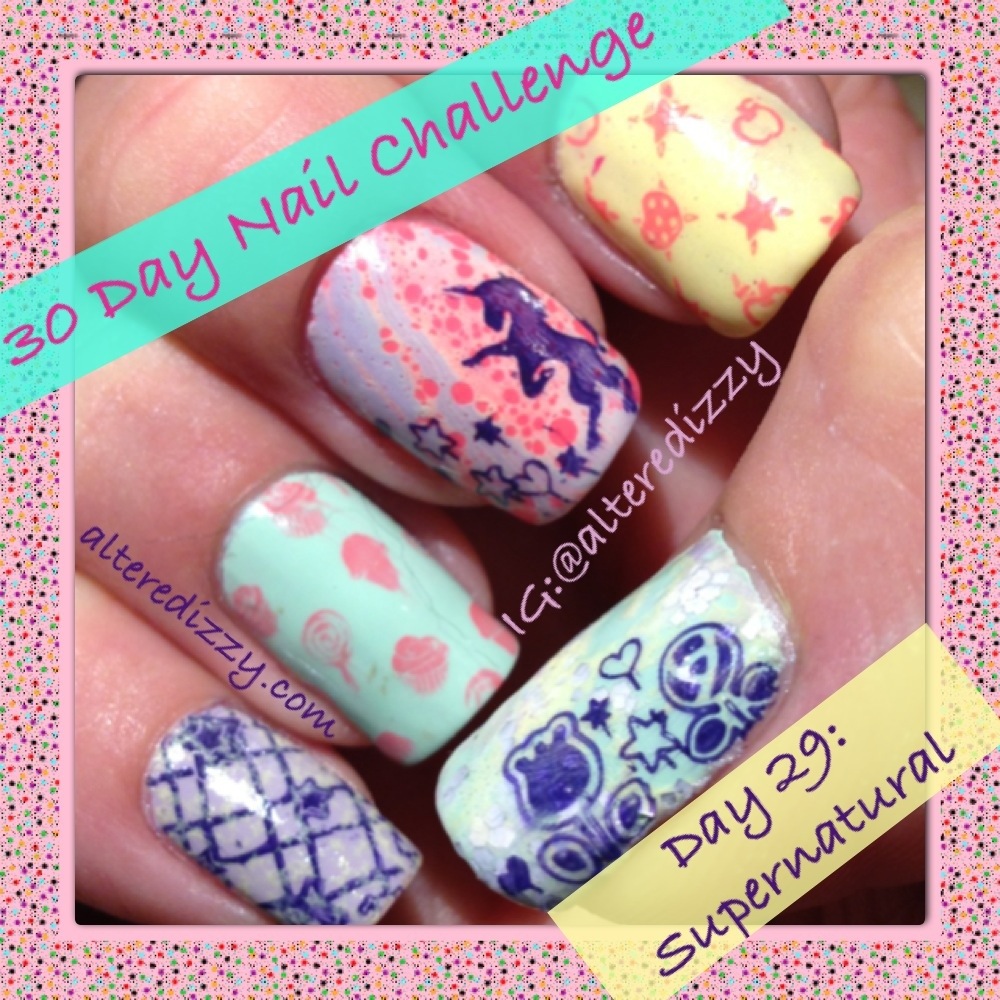
30 Day Nail Challenge Day 29: Inspired By The Supernatural

This is the second to last day of the 30 Day Nail Challenge! And it is a good one inspired by the supernatural. I had wanted to do a vampire mani but the look I started wasn’t coming together so I switched it up to unicorns!

20130605-191413.jpg
I also tried out this water speckled technique I’ve been hearing about on the various blogs I follow. The technique is the same as with water marbling but you spritz the surface of the “bullseye” with an alcohol based hand sanitizer before dipping your nail into the water. It worked like a charm but I use a plastic shot glass to do my waters marbling and I had to change the water for every nail because the product prevents the polish from spreading out. I love how this manicure turned out! I keep looking at my nails! Have any of you tried this technique? Any tips?

For this look I used:
Seche Vite Base Coat
Revlon sunshine sparkle, Provence
Sally Hansen Xtreme Wear mint sorbet, coral reef
Orly bubble bath
Essie no more film
Miracote top coat

Plates used for this look:
Mash 39
Pueen 04, 08, 18, 19, 20

Next up is a manicure inspired by a tutorial, stay tuned for the last manicure in this challenge.

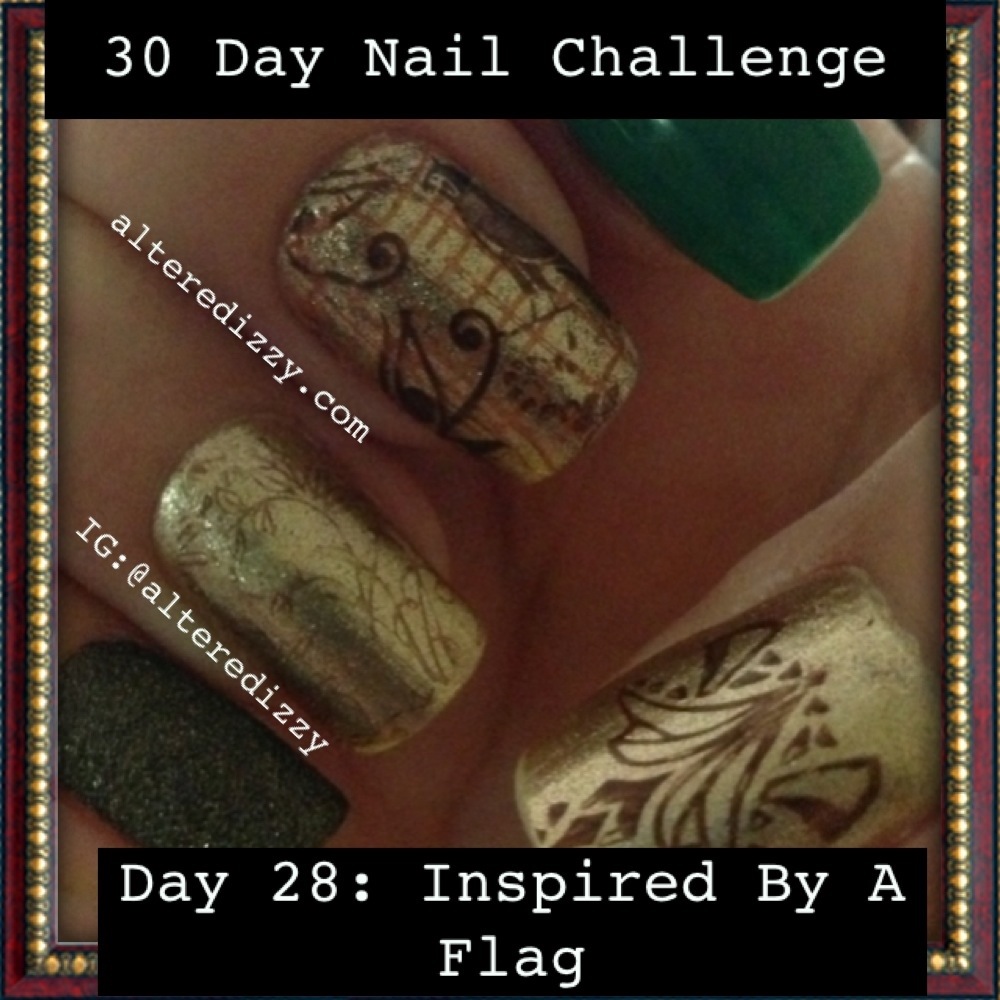
30 Day Nail Challenge Day 28: Inspired By A Flag

Only a few more days left to this challenge, day 28 is a manicure inspired by a flag. I love Egyptian art and it just so happens I had some Egyptian nail stamping plates that fit the bill.

20130602-123141.jpg
I love the way these turned out. It also gave me a chance to use the liquid sand again. Unfortunately I was at my besty’s house and chopped off most of my thumbnail and now I’m stubby. Oh well, at least the food was delicious and it was totally worth sacrificing my finger nail.

For this look I used:
Seche Vite Base Coat
Sally Hansen Xtreme Wear golden-I
Pure Ice can’t stop
Maybelline Color Show tenacious teal
Revlon foxy
O.P.I. What wizardry is this?
Miracote top coat

Nail plates used:
Mash 36, 41
Gals GA37
Shany SH206
Pueen 04

Next up in the challenge is a manicure inspired by the supernatural!